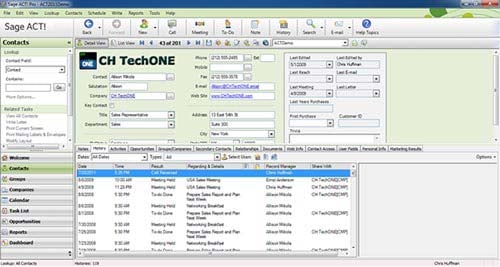
Give your customer satisfaction a boost and increase your agents’ productivity by integrating 3CX Phone System Pro and Sage ACT! with the 3CX CRM Integration Module.

By integrating 3CX and Sage ACT!, you will be able to take advantage of the following features:
- Click to Call - You can call contacts with a single click straight from Sage ACT! There is no need to type the phone number.
- Call Pop-ups - As customer records are linked to their caller ID, they are brought up automatically upon receiving an inbound call. This saves valuable time for agents, which helps productivity and in turn means customers don’t get frustrated from delays.
- Call Journals - All calls are logged in Sage ACT! Sales personnel can easily keep track of calls made to a customer and take notes of what action needs to be taken.
Launching Calls from Sage ACT!
You can launch outbound calls directly from Sage ACT! using the dialer. The Sage ACT! integration also installs the 3CX TAPI service provider, which allows you to do it.
Please note that outbound calls will not be registered in Sage ACT! contact’s history, as they’re handled by TAPI and not by the Sage ACT! plug-in.
Configuring the Dialer
In order to launch outbound calls from the Sage ACT! interface you need to configure the dialer first, to work with the 3CX TAPI service provider. To do this, go to “Tools” -> “Preferences”, select the “Communication” tab, press the “Dialer Preferences” button, check the “Use Dialer” option and finally select “3CX TAPI Service Provider”. Press “OK” to accept the changes.
Launching Calls from the Sage ACT! Interface
After configuring the dialer, you just need to press the “Phone Contact” button, select the desired phone number, and the call will be launched and automatically connected to your extension!


