
This article will provide a walkthrough and explanation on how the callback feature works when setup on call queues.
How the Callback Feature Works
The callback feature for call queues works by re-dialing a client's caller ID when the call queue has an agent available. The callback feature does not offer the ability to work off of ring strategy or work off of multiple queues. Instead, this queue will work based off of the call queue that the original call came in on.
When users initiate a callback request, they are prompted to either confirm their number by pressing *, enter a new number by pressing 0, or # to cancel.
Sending a caller straight to Destination if No Answer
This can be achieved by a caller pressing * at any time. The caller would then be sent straight to the destination if no answer set on that call queue once * is pressed.
Setting up the Call Back Feature
- Log into the bvoip phone system.
- Go to Call Flow > Call Queues in the top navigation.
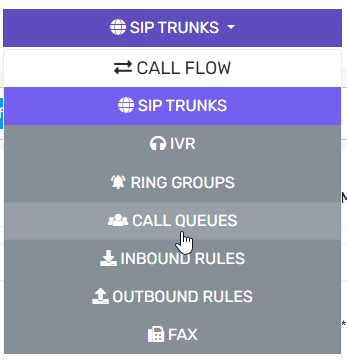
- Select the edit button to adjust an existing call queue or create a new call queue.
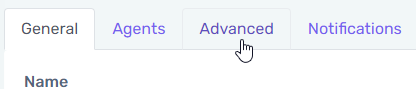
- Go to the Advanced tab.
- Select the Enable callback checkbox to enable the callback system for this queue.
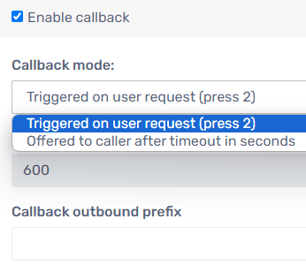
- Set the desired option for the Callback Mode.
- Triggered on User Request (Press 2).
- This is the preferred option, as users can press 2 at any time while holding to initiate the callback system.
- You can overlay a voice on your hold music to periodically announce this button option.
- Offered to caller after timeout in seconds.
- This will offer the callback option using a default audio prompt once, and then the user will not receive this prompt again.
- In the Callback timeout field, input the number of seconds to wait before providing the caller the callback option.
- If you have overflow queues, the Callback timeout considers the entire hold time and not just the current queue. Holding for 300 seconds in Queue A, then overflowing to Queue B where it prompts at 299 seconds, will never prompt for a callback.
- In the Callback Outbound Prefix field, input the desired prefix that should be used for all callbacks.
Note: This field is optional, and only necessary for those that need to prefix these calls.
- Triggered on User Request (Press 2).
- Click the Save button.
- Test the call queue and ensure you can get a callback properly.
Callback Failure Notifications
When a callback fails, either due to an invalid callback number or the Maximum queue wait time is passed, it's important that a notification be sent to the queue managers so that the call can be further actioned.
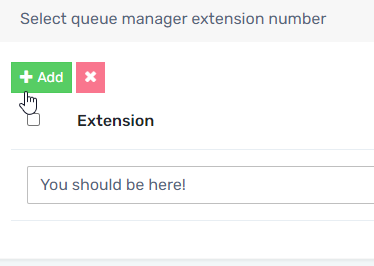
- Edit your call queue.
- Go to the Notifications tab.

- Ensure you or another user are added in the top section as a queue manager.
- Ensure at least Notify queue manager when a callback fails is selected. You can optionally enable other notifications here as well
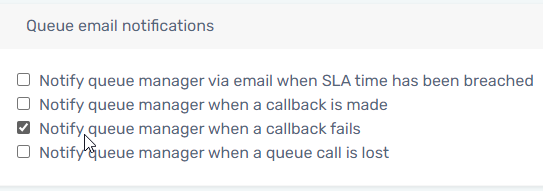
- Click the Save button.
Why does a callback fail?
You receive the callback notifications when one of the following conditions is met:
- A callback is requested, and then the Maximum queue wait time configured under the queue's General tab passes without anyone being available to take the callback.
- An invalid number is entered into the callback prompt.
- No members are signed into the queue.