
This article will walk through the setup of the Power BI Capacity platform for accessing 1Stream call data
Using Power BI Pro or Premium on Desktop?
If you don't have the full Power BI Premium with Capacity or Fabric Capacity plan, you can still leverage Power BI Desktop using a Power BI Pro or Premium license, see our article Power BI Desktop Integration for more details.
1Stream Level Feature Notice
This feature is available for only Core level 1Stream users and up. If you would like this feature to be available, then please reach out to your bvoip Sales Representative to upgrade user licensing.
Microsoft Licensing Required
In addition to 1Stream, you must have a minimum of one of the licensing options below:
- Power BI Premium P1
- Microsoft Fabric F2
- If you use below an F64, which is equivalent to a P1, all consumers of the data must also have Power BI Pro.
In addition, the user who creates the data and report must have Power BI Pro.
Why Power BI with Capacity?
Many Microsoft 365 partners now have access to Power BI Pro, however the Power BI Premium Capacity, or Fabric Capacity, plans allow for using the Python language to download data automatically via web services like our REST API.
This allows you to keep all records in one central location, instead of each user having to maintain a separate report and dataset on their local machine. This also enables very fast data refresh capabilities, allowing for Power BI to replicate the dashboard behavior of competing dashboard platforms.
What do these do?
All of this data can be found in various forms inside the 1Stream console, but the desktop template alongside the included python code will allow a team with more advanced automation capabilities to extend this to any level they need.
We see this as a starting point, and we hope it helps your team build out visualizations and custom integrations to better serve your specific needs.
Get the Code
As this integration process is much more complex, and requires both automation experience and very expensive licensing, we ask that you reach out to our partners@bvoip.com address and ask for these resources.
We will setup a brief 30-minute call to walk through the integration at a high level and provide you the code necessary.
Initial Call Data Collection
- If you have not done so already, please Generate an API Key which will enable you to access the API to pull data.
- Follow Microsoft's official documentation to setup a workspace in your capacity if you have not done so already.
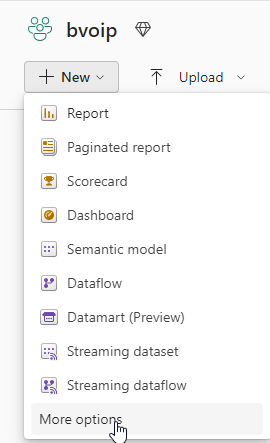
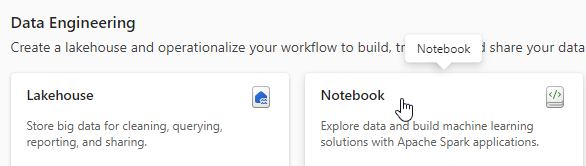
- In the workspace go to New > More options.
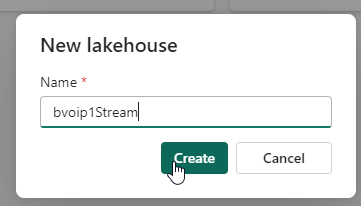
- Under Data Engineering select Lakehouse.
- Enter in a name and click Create.
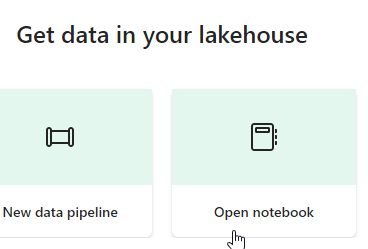
- Select Open notebook.
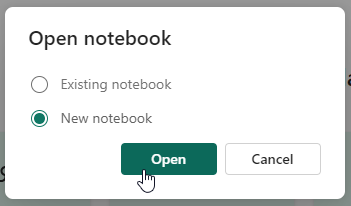
- Select New notebook and then click Open.
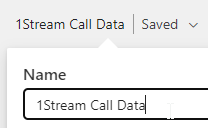
- In the top left name this 1Stream Call Data.
- Open 1Stream Call Data - First Run.py:
- Update Line 17 to be your API Key.
- Update Line 19 to be the time zone you want data to appear in.
- Update Line 22 to be the first date you want to pull data from. Setting this to 01/01/2000 will pull all data, but that can take upwards of an hour depending on call volume.
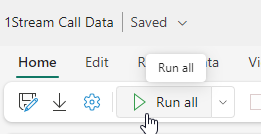
- Copy and paste that into the Notebook and click Run all.
- After some time, the 1s_calls table will be generated in the Lakehouse > Tables menu. This can take many minutes depending on how many calls you've made in the past, expect around 3-5 minutes per 10,000 call records.
Scheduled Call Job
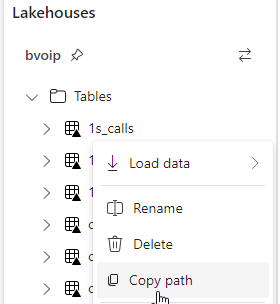
- In the Lakehouse menu, right click 1s_calls and select Copy path.
- Open 1Stream Call Data.py and modify Line 18 to use your API Key, Line 20 to be your time zone offset, and Line 22 to be the abfss:// path you just copied above.
- Paste that into the notebook, and then run it once to ensure it runs properly without error.
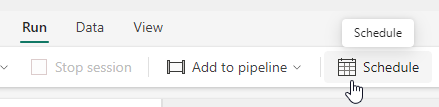
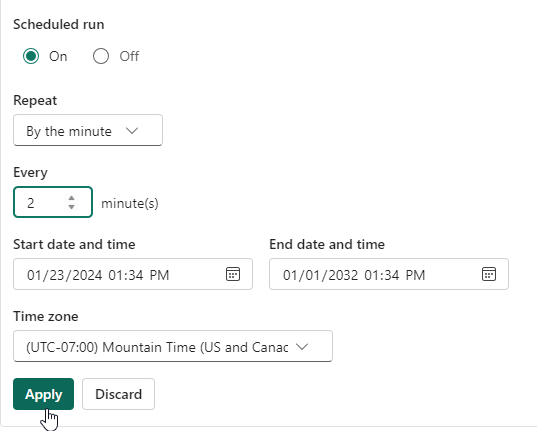
- In the top section go to Run > Schedule to open the Scheduling menu.
- Set Scheduled run to On and set it to run at the cadence you desire. We recommend 2-5 minutes depending on capacity size and call volume and set the end date to far into the future. Then click Apply.
- The job will now run regularly to update the call data.
Scheduled Extension Job
- Open 1Stream Extension Data.py:
- Update Line 15 to use your API Key.
- Update Line 17 for your time zone offset.
- Create a new notebook in the workspace by again going to New > More Options and selecting Notebook under Data Engineering.
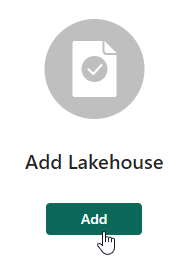
- On the left click Add under Add Lakehouse.
- Select Existing Lakehouse and click Add.
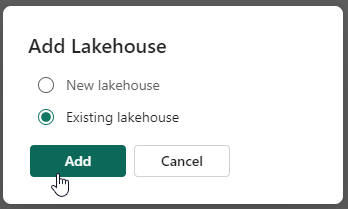
- Select your previously used Lakehouse and click Add.
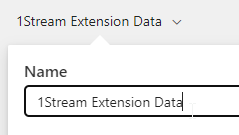
- In the top left, name your Notebook 1Stream Extension Data.
- Paste in the python code for 1Stream Extension Data.py
- In the top section go to Run > Schedule to open the Scheduling menu.
- Set Scheduled run to On and set it to run at the cadence you desire. We recommend 2-5 minutes depending on capacity size and call volume and set the end date to far into the future. Then click Apply.
- The job will now run regularly to update the extension data as 1s_extensions.
Using the Data
Unfortunately, a direct query like a Lakehouse does not lend itself well to being templated in Power BI. Included in the zip file is our local Power BI template so you can use that as a baseline, simply follow the Power BI Desktop Integration guide to configure that, and then use that for ideas on how to build your custom reports and dashboards.
Questions?
This integration past initial setup is considered best effort. Raise a case with our partners@bvoip.com address if you need assistance in any way.