
This article will walk through the process of archiving call recordings to a Google Cloud Platform storage bucket.
Requirements
- You must have a Google Cloud Platform account, with the minimum roles of:
- Service Account Admin
- Service Account Key Admin
- Project IAM Admin
- Storage Admin
- This will create a storage account which will be charged consumption-based rates, so ensure you have approval for these charges.
Lite or Per-User Plans
As this is changed via the backend phone system management console, if you are on a Lite or per-user plan, our team will need to make part of this change on your behalf. You can reach out to partners@bvoip.com and reference this document for the quickest assistance.Create the Service Account
- Create a new project in Google Cloud with whichever name you prefer and select that project.
- Official Doc: Create a Google Cloud project
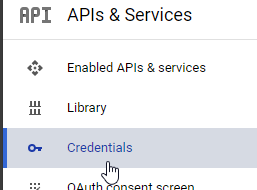
- On the left side of the new page, click Credentials.
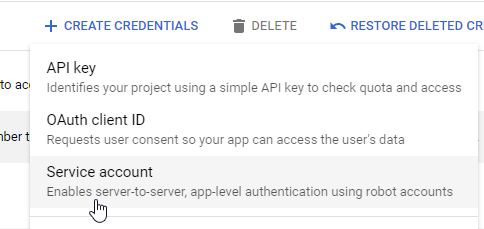
- In the top menu, go to Create Credentials > Service account.
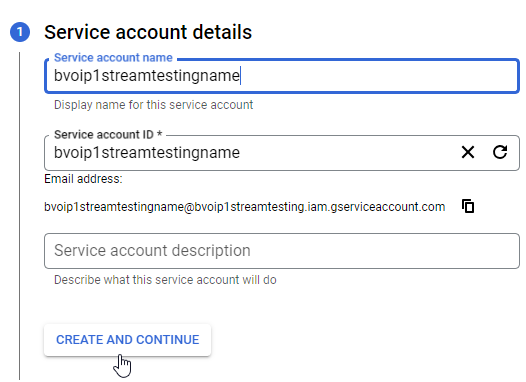
- Enter a name for the service account and click Create and Continue.
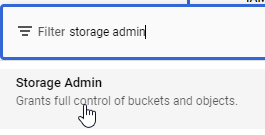
- Under Select a role, search for "storage admin" and select Storage Admin.
- Click Continue
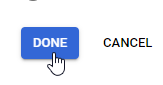
- Click Done at the bottom.
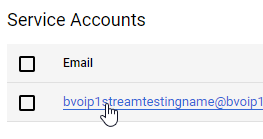
- Click your account name under Service Accounts.
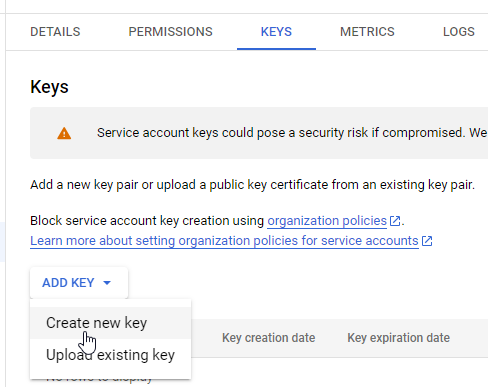
- In the Keys menu at the top, go to Add Key > Create new key.
- Select JSON and click Create.
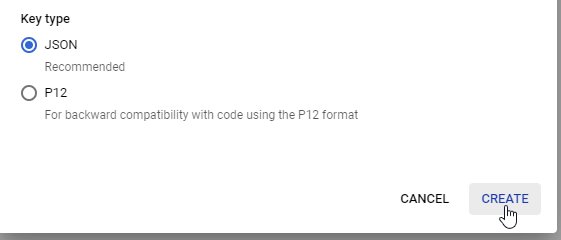
- The key is automatically downloaded, and you'll need that file later on.
Create the Storage Account
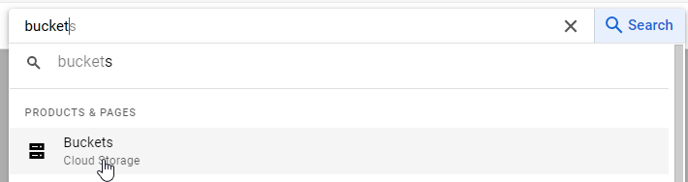
- In the top bar search and go to Buckets.
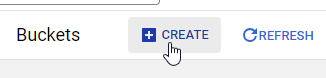
- Click Create in the top left.
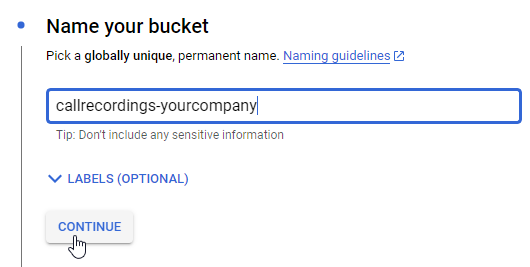
- Enter a name and click Continue.
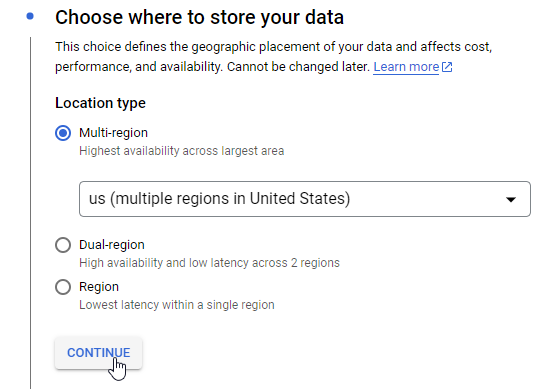
- Select the region you want to use for storage and click Continue.
- Select the storage class and click Continue. This depends on how frequently you need to access this data, as the lower tiers are cheaper to write but far more expensive to read.

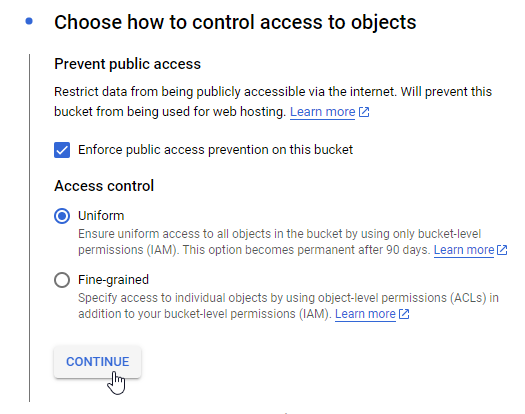
- Click Continue for access control unless you have a need otherwise.
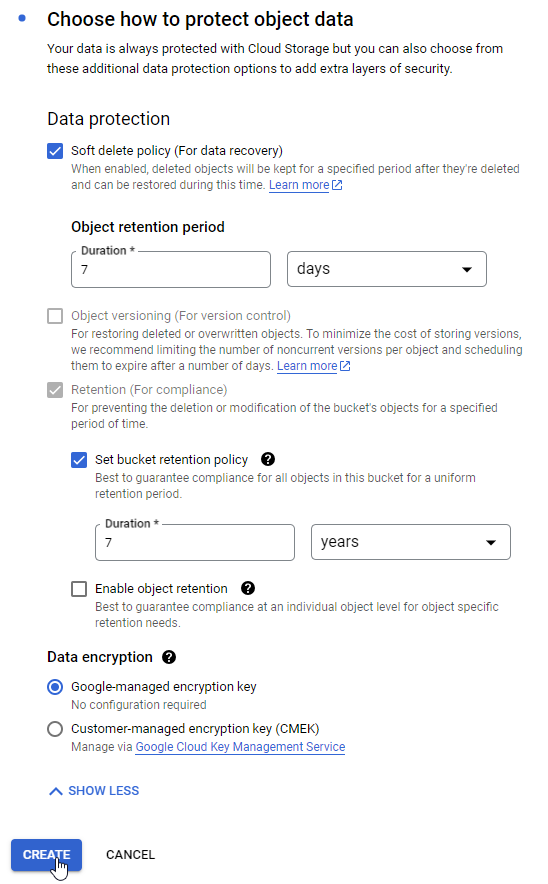
- Set any advanced retention settings if you see fit, then click Create. The values below are just an example, set this per your own requirements.
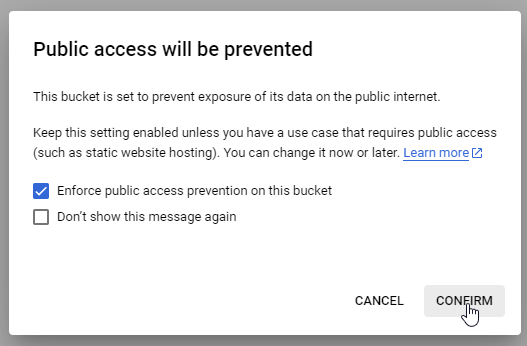
- Confirm the Public Access Restriction.
Setting up the Archival Process
- Login to the bvoip phone system.
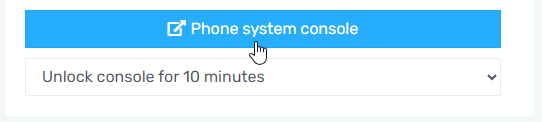
- On the right side of the home Overview page, click the Phone system console link to open the phone system management console.
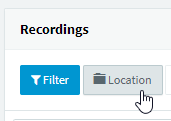
- Under PBX Status click on Recording.

- Click the Location button in the top bar.
- Check Enable Remote Archiving and then set Google Storage as your Location Type.
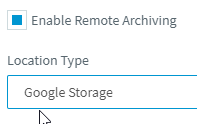
- Click Upload and upload your downloaded json file from above.

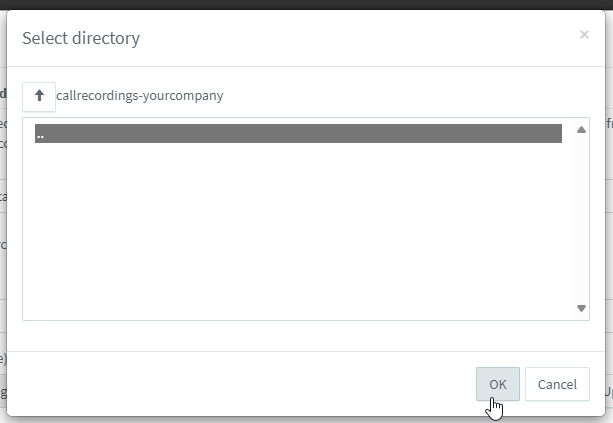
- Click the three dots to the right of Select Folder/Path.

- Select the Bucket you created and click Ok. If you created a subfolder, you can select it here.
- Check Archive Schedule Policy and set whichever schedule you'd like.
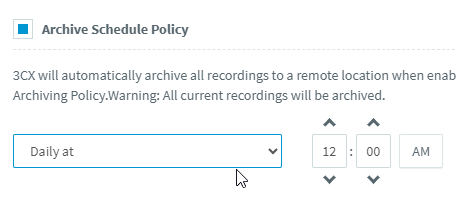
- Press Ok to save your settings.
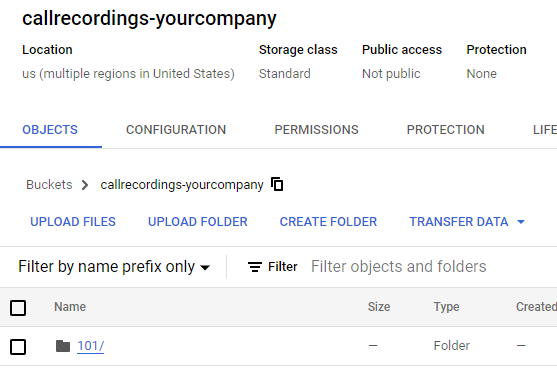
- Once your schedule has passed you will find that the WAV recordings have been copied into your Google Storage Bucket, with individual folders for each extension.
Retention Settings
This simply copies the recordings to the bucket, it does not delete them from the phone system after doing so.
If you are looking to conserve space here, ensure that you also configure the retention settings per our Managing Storage Space article so that recordings are deleted after a certain number of days. Do note if your recordings are deleted faster than they are archived, some will be lost.