
This article will provide a walkthrough on the setup for the integrations of WhatsApp with the phone system.
WhatsApp Limitations Notice
- WhatsApp integration is intended to answer inbound messages only. You cannot send an outbound message to a WhatsApp user without them having sent you a message first. You then have 24 hours to respond to the message. After that, you can no longer answer the message!
- You cannot initiate a conversation with a WhatsApp user.
- The number you configure must not be in use on another WhatsApp, for example it cannot be in use on your WhatsApp Business App on your mobile.
Pre-Requisite Notice
You must have a WhatsApp Business account set up with a phone number added prior to starting the integration. This number should not be registered to any other existing WhatsApp account, whether it be virtually or on any physical device.
If you want to use a number that is already set up on WhatsApp, you have to delete the account first. Read more here.
Setup Phases
- Create a WhatsApp Application
- Adding a Phone Number in WhatsApp
- Setting up the Admin Role in WhatsApp
- Generate a New Token
- Sip Trunk Configuration
- Configuring the Webhook
Phase One: WhatsApp Configuration
Create a WhatsApp Application
- Navigate to the Facebook Development Portal.
- Click Log In.
- Navigate to My Apps.
- Click on Create App.
- Select Business.
- Click Next.
- Give your application a display name and use the drop-down list to select your business account.
- Click Create app.
- Re-enter your password.
- Click Submit. The next screen will offer you to add products to your app.
- Scroll down to WhatsApp.
- Click Set up.
- Use the drop-down menu to ensure the correct phone number listed that you will use to send and receive messages. Copy your Phone number ID below the drop-down box and save it for a later stage. If you do not have a number attached to your WhatsApp account then follow the steps below.

Adding a Phone Number in WhatsApp
- Scroll down to the WhatsApp menu.
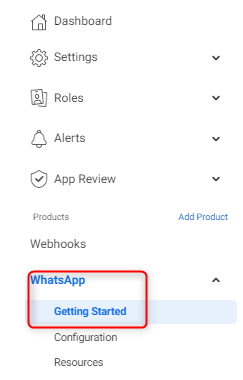
- Select Getting Started.
- Got to Step 5: Add a Phone Number.
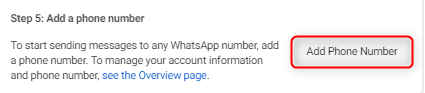
- Click on the Add Phone Number button.
- Enter a WhatsApp Business profile display name.
- Select your timezone.
- Select a Category.
- Input a business description, if desired.
- Click Next.
- Enter your phone number.
- Choose your method of verification (Text or phone call).
- Click Next. Once verified, your number can be seen in the getting started “send and receive messages” drop-down section. Ensure it is selected and then
- Copy your Phone number ID below the drop-down box and save it for a later stage.
Setting up the Admin Role in WhatsApp
- Click on the menu icon.
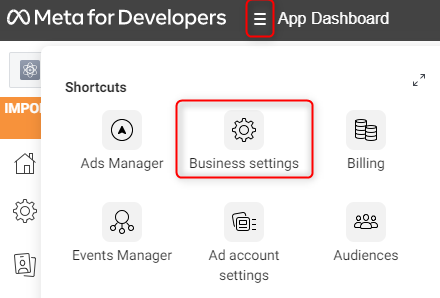
- Select the Business settings icon.
- Navigate to Users.
- Go to System Users.
- Click Add.
- Accept the non-discrimination policy.
- Click Done.
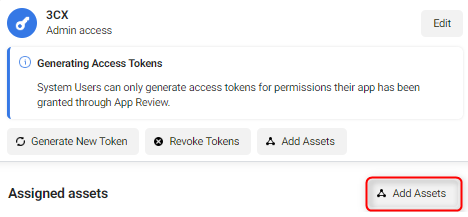
- Set a system user name. In this example, we have named it 3CX for simplicity.
- Set the user role to Admin.
- Click the Add Assets button. A pop-up will appear.
- Select Apps.
- Choose your app by the system name you provided in step 8.
- Enable the Manage App option.
- Click on Save Changes.
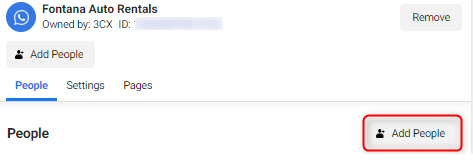
- Navigate to Accounts.
- Go to WhatsApp Accounts.
- Select your business app.
- Click Add People.
- Go to your previously created system user.
- Enable full control.
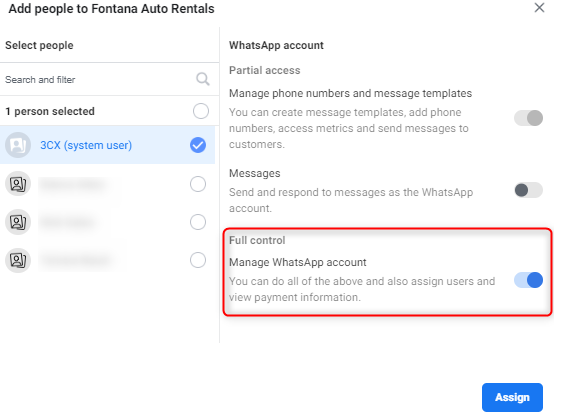
- Click the Assign button.
Generate a New Token
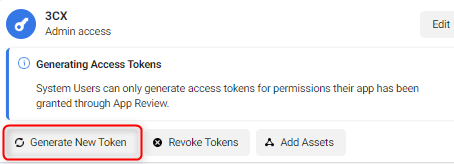
- Navigate to Users.
- Choose System Users.
- Click on Generate New Token.
- In the pop-up options, select your app from the drop-down list.
- Check the box to enable for whatsapp_business_messaging.
- Check the box to enable for whatsapp_business_management.
- Click Generate Token. The token will appear in a pop-up box.
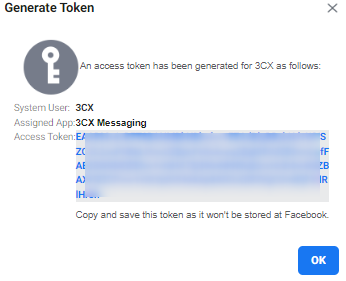
- Copy the token and save it as it will not be available again. This is a permanent token. The token will not expire unless you click the revoke token button.
Phase Two : Sip Trunk Configuration
- Log into the bvoip phone system.
- Click on the Call Flow drop-down menu.
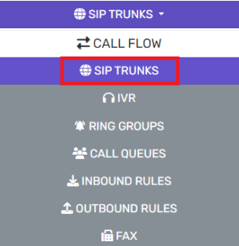
- Go to the SIP trunks menu item.
- Select the WhatsApp button.

- In the Name field, input the desired name for the WhatsApp integration.
- In the Access token field, input the access token from the Token Generation section.
- In the Phone Number ID field, input the desired WhatsApp account phone ID in the e164 format (+countrycodeDID) as shown in the Create a WhatsApp Application section.
- Copy the Webhook URL.
- Click on the Save button.
Phase Three : Webhook Configuration
Configuring the Webhook
- Navigate back to your Meta for Developers portal.
- Browse to your app.
- Go to the WhatsApp menu.
- Select the Configuration submenu.
- Click on Edit.
- In the Callback URL field, paste the copied webhook from the Sip Trunk Configuration Section.
- To verify the token, enter a random string of letters and numbers. This will not be needed again so there is no need to save your string for a later date.
- Click Verify and Save.
- Go to the Webhook Fields section.
- Click on Manage.
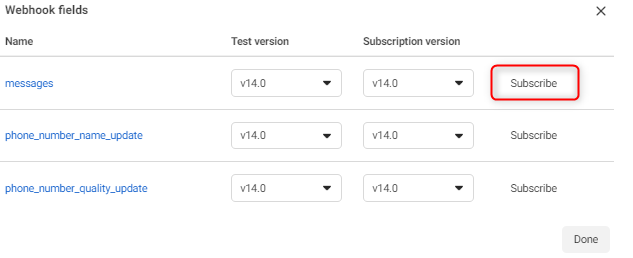
- Go to Messages.
- Click the Subscribe button.
- Click the Done button. You can now proceed to test your configuration by sending a WhatsApp message to your configured number and ensuring your routing works correctly.