
This article will provide a walkthrough on the functionality and setup of the Voicemail Monitoring function in 1Stream.
1Stream Level Feature Notice
This feature is available for only Engage level 1Stream users and up. If you would like this feature to be available, then please reach out to your bvoip Sales Representative to upgrade user licensing.
Activation Notice
If you would like to start using Signal features and are on the Engage 1Stream plan, please reach out to support to activate Signal for use.
Setting up the Voicemail Monitoring Signal
The Voicemail Monitoring Signal is intended to be the answer to on-call or after-hours arrangements where even without being logged into 1Stream, a user can be notified of when a voicemail is left on a monitored extension.
Pre-Setup Notice
Before setting up this feature, make sure that the users to be notified have the phone field filled out in their 1Stream user profile. To do this, click on the username under CRM User Mappings and fill out the phone number field. Be sure not to have special characters in this field such as plus signs or dashes as this can cause problems.
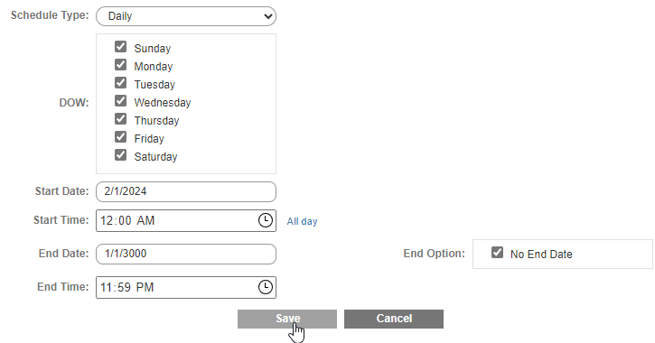
Setup On Call Schedule
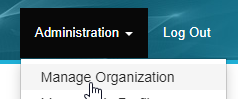
- Log into the 1Stream Portal.
- Go to the Administration > Manage Organization menu.
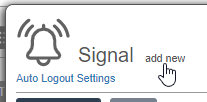
- Scroll down to the Notifications - On Call Management section.
- Click on the Add / Edit link, then the Signal calendar pop-up will appear.

- Click on the Add New link in the top left. The space underneath the text will expand to allow for new options.
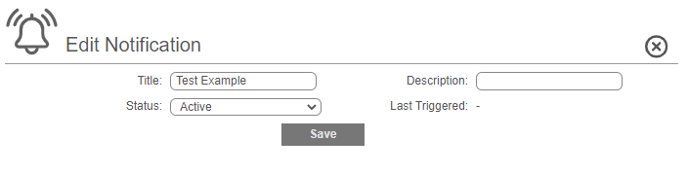
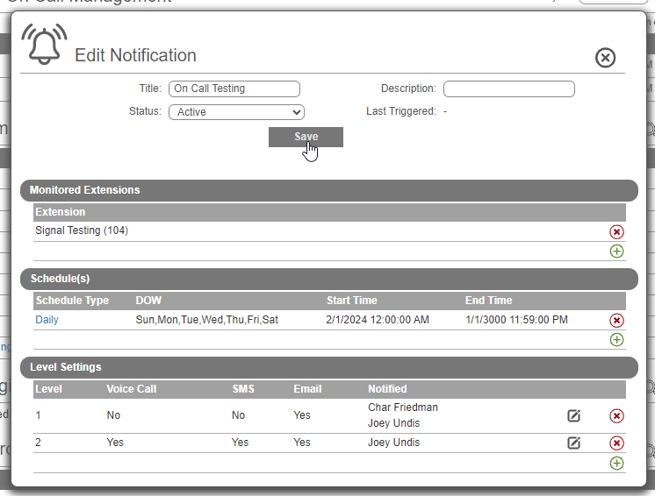
- In the Title textbox, plug in name and select Voicemail Monitor, then click the + button.

- In the Description field add a short description if desired, then hit Save.
- In the Monitored Extensions section click the green + icon.

- Select the Extension to be monitored and click Save.

- In the Schedule(s) section click the green + icon.

- In the Schedule Type drop-down, select Daily or One Time.

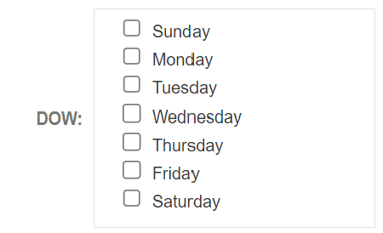
- For DOW, select the specific day(s) of the week that the notification needs to apply on.
- For the timing, enter it as follows:
- In the Start Date field enter the first date the schedule should run.
- In the End Date field enter the last date you want the schedule to run, but you can select No End Date to have it go on forever.
- In the Start Time field enter the time when you want the monitoring to start.
- In the End Time field enter the time where you want the monitoring to end.
- Click the Save button to save your schedule.
Example Schedules
As the scheduling can be a bit confusing, here are a couple of example schedules that you can clone or adjust according to your needs.
Always On Monitoring
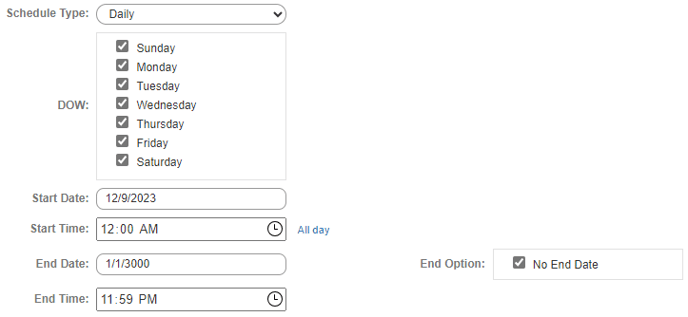
In the schedule above, starting on 12/9/2023 the selected extensions will be monitored forever, with No End Date. A voicemail received at any time will trigger the alerting rules immediately.
Daily Voicemail Monitor
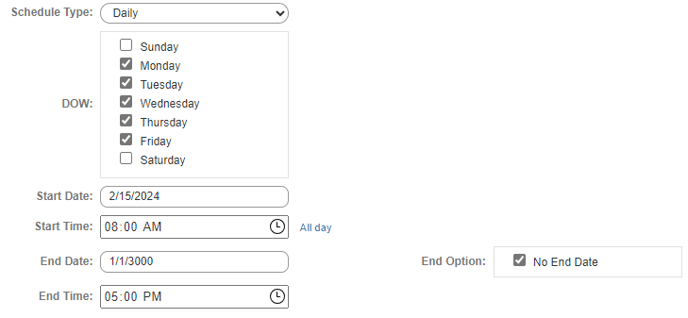
In the schedule above, the system will look for unread voicemails and start alerting on 2/15/2024 at 8:00AM, it will then stop looking at 5:00PM, continuing every Monday through Friday with No End Date. A voicemail received at 5:05PM will alert at 8:00AM the next business day.
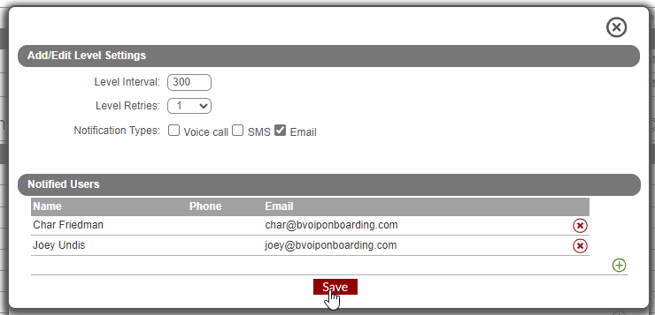
Setup Notification Levels
We use the concept of "Levels" in our Signal voicemail monitor, so you can set multiple cascading notification rules with increasing frequency, number of recipients, and types of notification.
- Scroll down to the Level Settings section and click the green + icon.

- Set Level Interval to how many seconds you want to wait on this level before the next retry or level.
- The minimum value of this is 60 seconds, any lower than that and it will run every minute.
- Set Level Retries to the number of retries on this level, before proceeding to the next.
- Set Notification Types to the types of notifications you want to use.
- Voice Call: a call will be issued to the phone number listed on the 1Stream user's profile.
- SMS: a text message will be issued to the phone number listed on the 1Stream user's profile.
- Email: an email message will be issued to the email address listed on the 1Stream user's profile.
- Under Notified Users, click the green + icon and add all the users this notification level will apply to.
- Review your level and if it all looks correct, click Save.
- Add any additional levels as necessary to suit your needs.
- Once complete, review your monitor and click Save.
The notifications will go out to the specified 1Stream user(s) via the selected method(s) each time that a voicemail is received for the set monitored extensions.
Functionality Conflict Notice
If an extension that is being monitored for voicemails has the voicemail settings arranged to send the voicemail file via email and delete from the mailbox, it will cause a conflict in the functionality of this feature.