
This article will provide a walkthrough on using the chat feature on the softphone in the bvoip Webclient.
SMS Feature Notice
This feature can be used in conjunction with the SMS to Chat Feature and SMS Chat Logs.
Accessing Chat
- Log into the bvoip Webclient.
- Go to the Chat menu option.

Creating a Single Person Chat
Single Person chats have the option to also do video and regular phone calls in addition to attaching files in the chat, adding additional people into the chat as well as archiving and deleting the chat entirely.

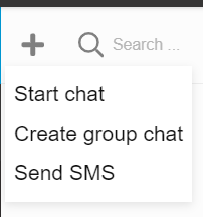
- Click on the Plus sign. A pop-up sub-menu will appear.

- Select the Start Chat Option. The screen will refresh showing extensions.
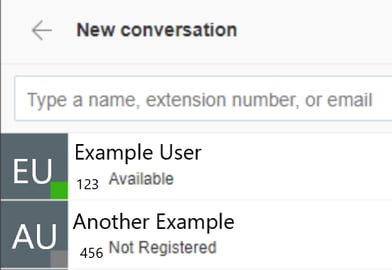
- Select the desired extension by clicking on them. Additionally, the search bar at the top does allow for locating extensions by name, email or number. A chat screen will appear.
- In the Say Something field, click and type in your desired message.
- Click the Paper Airplane icon to send the message.
Creating a Group Chat
Group chats only have the ability to add additional people to the chat, attach files, archive and delete the chat.
- Click on the Plus sign. A pop-up sub-menu will appear.

- Select the Create Group Chat Option. The screen will refresh showing extensions.
- Click on the desired extensions to be included into the group chat.

- Select the Next button.
- In the Type Group Chat Name Here field, input a name for the Group Chat.

- Click the Start Chat button.
- In the Say Something field, click and type in your desired message.
- Click the Paper Airplane icon to send the message.
Sending SMS Messages
- Click on the Plus sign. A pop-up sub-menu will appear.
- Select the Send SMS option. The screen will refresh with a Start Conversation screen.
- In the open field, input the number to be messaged starting with the +1 prefix.
- Click on the Start Chat button to open the conversation screen. You will now be able to message the selected number.
Receiving SMS Chats
SMS Chats will come in as a chat. If you have a group of agents assigned to a queue, those agents will receive the SMS messages individually.