
- Old KB
- Device Management & Provisioning
- General Provisioning
-
1Stream Platform
- Admin User Functions
- Application Download
- AutoTask Integration
- BrightGauge
- Call Routing Features
- Call Tools
- ConnectWise Integration
- CrewHu
- CRM Management
- DropBox Integration
- End User Management
- Enterprise Portal
- HubSpot Integration
- Freshdesk Integration
- General Troubleshooting
- Hudu
- InfusionSoft Integration
- Insightly
- Liongard Integration
- Kaseya BMS
- MSPbots Integration
- OneDrive Integration
- Power BI
- Progressive Dialer
- Reports
- Salesforce
- ServiceNow Integration
- Signal
- SyncroMSP
- ZenDesk Integration
- Halo Integration
- Transcription and Analytics
-
Control Portal
- Auto Attendant Functionality
- BLF Keys
- bvoip Fundamentals
- Call Flow
- Call Queue
- Call Recordings
- Call Rules
- Desktop Application User Documentation
- Dial Codes
- DIDs
- Extensions
- Extension Tools
- FAQs
- Google Integration
- Microsoft 365
- Multifactor Authentication
- Phone Hours
- Settings
- Security
- Shop
- SIP Trunks
- SIPTrunk.com Partnership
- Storage
- System Notifications
- System Tools
- Troubleshooting Guides
- Users
- Webclient User Documentation
- Whitelabelling
- Zoho Integration
- WhatsApp Integration
-
Device Management & Provisioning
-
Nucleus for Microsoft Teams
-
1Stream Client
-
Messaging
Provisioning Sidecar Devices
This article will provide a walkthrough on setting up sidecar additions to a phone in the bvoip phone system.
What is a Sidecar Device?
Sidecar Attachments are devices that are extensions of pre-existing phones. In order to provision one, the phone it is connected to will need to be provisioned to a phone extension. For steps on provisioning a phone to an extension, please see our Phone Provisioning General Setup article.
Provisioning a Sidecar Attachment
- Log into the bvoip phone system.
- Go to the Extensions section.
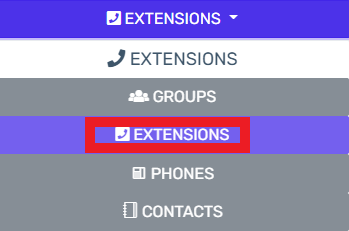
- Click on the Extensions subsection.
- Click on the Edit button next to the extension that the device is being applied to. Click the Add button to create an extension that the device will be applied to.
- Go to the Phone Provisioning tab.

- Click on the Add New Phone Device button. A pop-up will appear.

- Select the desired device model in the Templates drop-down.
Note: Make sure to use a template ending with -bvoip after the needed phone model.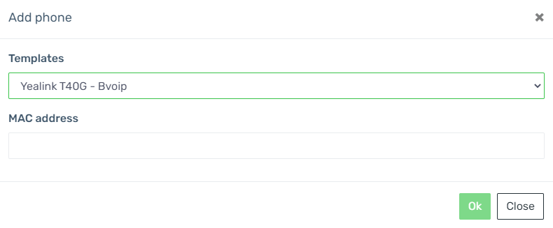
- Add the MAC address without colon into the MAC Address field.
- Click the Save button. The pop-up for the provisioning will close and the page will refresh with new sections being shown.
- Click the Save button to save the phone template to the extension.