
This article will provide a walkthrough on importing the bvoip CSV files into BrightGauge.
1Stream Level Feature Notice
This feature is available for only Core level 1Stream users and up. If you would like this feature to be available, then please reach out to your bvoip Sales Representative to upgrade user licensing.
Where do I get the CSV?
The CSV files discussed in this article are generated automatically every hour when 1Stream is connected to Dropbox or OneDrive.
If the CSV file was recently added to the Dropbox or OneDrive account, please allow a few minutes for it to sync before trying to search and create a dataset from it.Setting up the Datasource
Follow BrightGauge's official documentation on how to setup their OneDrive or Dropbox integration to access the account you configured in the 1Stream integration.
Uploading a .CSV File
- Login to BrightGauge.
- Go to the Data > Datasets menu in the top right.
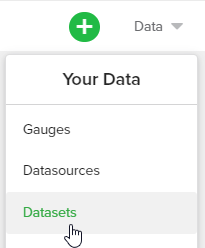
- Click the Upload CSV text.

- In the Datasource drop-down, select either the Dropbox or OneDrive option.
- In the Name Your Dataset field, enter a name for the dataset. This is the name for the new dataset that pulls the data from the uploaded CSV file.
- In the File Path field, click the Choose File button A pop-up will appear to allow the entering of the file name where the CSV can be located, this should be 1streamCallSummary.csv or 1streamQueueStatuses.csv.
- Select the Contains Header Row checkbox, as both of the CSV files have headers.
- In the Dashboard Sync Frequency drop-down, select 1 hr. For further explanation on a dataset's Dashboard Sync Frequency, please refer to this article.
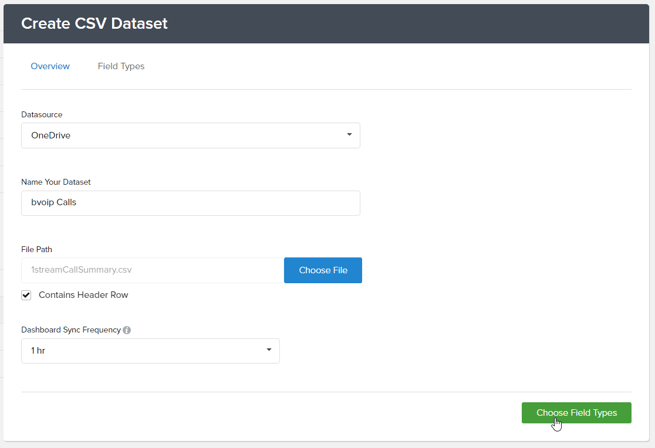
- Click the Choose Field Types button to assign the field types to each column from the CSV file. You can find a recommend list at the article below:
- Click the Test Field Types button to verify that all the selected field types match up with the content in the CSV.

- Click the Finalize Dataset button if all fields test successfully. If any field returns an error, please review the selected field type and confirm it is set correctly.
- In the Client Mapping Column, select the No Client Column option and click Save Dataset.

Next Steps
Repeat the steps as needed for each additional dataset you need to add, then you can follow the guide below to build out the gauges.
Tip: If you are having trouble finding your files in the search, type .CSV into the search field and wait a bit for your files to show.