
This article will walkthrough the setup process for Hudu with ConnectWise and the 1Stream platform.
1Stream Level Feature Notice
This feature is available for only View level 1Stream users and up. If you would like this feature to be available, then please reach out to your bvoip Sales Representative to upgrade user licensing.
Setting up the ConnectWise and Hudu API Integration
- Log into your Hudu Site.
- Navigate to the Admin menu.
- Go to the Data section.

- Click on the Integrations button. The Integrations page should then appear.

- Scroll down to the ConnectWise Manage Integration section.
- Click on the Create Integration button.
- In Fully Qualified Domain field, input the domain of the ConnectWise API.
Note: If the ConnectWise application URL is used, no data will flow. - In the Company field, input your ConnectWise company ID.
- In the Public Key field, input the key generated from the desired ConnectWise user that will access Hudu.
- In the Private Key field, input the key generated from the desired ConnectWise user that will access Hudu.
- Click the Update Integrator button.
Import Company Data
The importing of Company Data from ConnectWise to Hudu is needed in order for the integration to work as the companies must exist in each system in order to sync over.
Note: A .csv file will be needed for uploading the company data.
- Go to the Admin Menu.
- Go to the Data section.
- Select the Import Data option. The page will refresh to provide a breakdown of what requirements are needed for importing data.
- Click the Done Reading? Start Process button. The page will refresh.

- In the Import Type drop-down, select the Companies option.
- Click on the Choose File button to select the .csv file to upload.
- Select the desired .csv file.
- Click the Open button. The page will refresh.
- Scroll down to the Step 3: Start Importing section.

- Click the Start Importing button.

Sync Data from ConnectWise
Requirement Notice
An asset layout is required to sync People, Configurations and Contacts in Hudu.
- Go to the Admin Menu.
- Go to the Data section.
- Click on the Integrations option.

- Select the ConnectWise Manage option. The ConnectWise Integration Overview section will appear.
- Click on the Start Sync button.
Future Sync Notice
Future Integration Syncs can be done by going to the Refresh Integrations button on the side menu and clicking the refresh button next to the ConnectWise Manage integration.
Future Integration Syncs can be done by going to the Refresh Integrations button on the side menu and clicking the refresh button next to the ConnectWise Manage integration.
Matching Company Data
- Go to the Admin Menu.
- Go to the Data section.
- Click on the Integrations option.
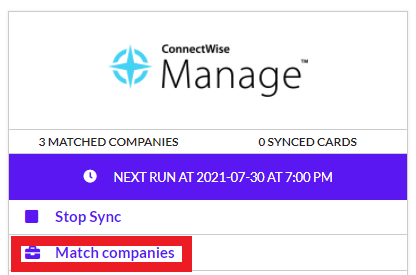
- Select the ConnectWise Manage option. The ConnectWise Integration Overview section will appear.
- Click on the Match Companies option. The page will refresh to show the unmatched companies that need matching.
- Click the Create New Company and Match button next to each company to be matched.

Creating the API Key for 1Stream Integration
- Go to the Admin menu.
- Scroll down to the Account Admin section.

- Click on the API option.

- Go to the Create API Key section.
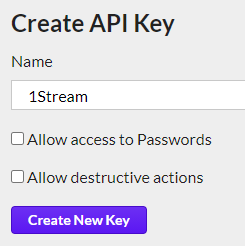
- In the Name field, type in 1Stream.
- Click the Create New Key button.
- Copy the API Key.
Setting up the 1Stream Integration
- Log into the 1Stream Portal.
- Go to the Administration menu.

- Choose the Manage Organization option. The page will refresh.
- Scroll down to the CRM Settings section.

- Click on the green circled plus button. The Add New CRM Platform pop-up will appear.
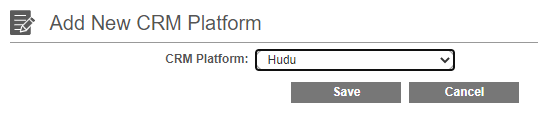
- In the CRM Platform drop-down, select Hudu. The Modify Hudu Connection Settings pop-up will appear.
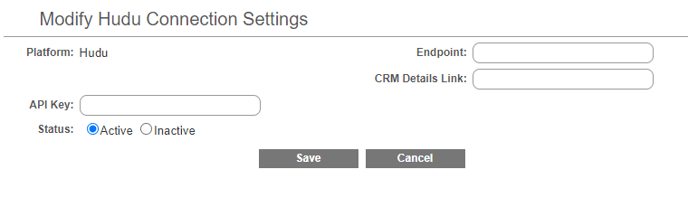
- In the API Key Field, input the API Key created in Hudu.
- In the Endpoint field, input your Hudu site URL with /api/v1/ at the end.
- In the CRM Details Link field, input your Hudu site URL.
- Click the Save button.
Adding the Hudu Pop Screen
- Scroll down to the Pop Screen URLs section.
- Click on the green circled plus button. The Add New Screen Pop URL pop-up will appear.
- In the LinkName field, add the desired name of the Link as it will appear in the 1Stream Desktop Application.
- Click the Save button. The Edit Screen Pop URL pop-up will appear.
- In the Link Type drop-down, select one of the two Hudu options for determining the pop-up screen in Hudu:
- Hudu - Company
- Hudu - Contact
- Determine the Screen Pop URL users.
- Click the Save button.