
This article will provide a walkthrough on customizing the control portal FQDN with a custom SSL certificate.
What is a Subdomain vs FQDN?
A subdomain refers to just the "client" portion of the "client.bvoip.net" address, whereas an FQDN refers to the Fully Qualified Domain Name, or the full "client.bvoip.net" address.
By customizing the subdomain, you are still using the ".bvoip.net" trail to your portal address, but by customizing the FQDN you can use your full domain such as "portal.client.tld", as well as rebrand the phone system URLs.
Don't have an SSL?
This article will walk through updating the FQDN, which requires a third party SSL certificate. If you want to change just the subdomain instead, which doesn't require that, you can review the article below.
Needed Items for Customizing the Domain with SSL
- A trusted SSL certification for either a single domain or wild card.
- Ownership of the desired domain
- Access to the DNS of the desired domain
Creating the SSL
If you already have an SSL certificate, you can skip to the next section.
- Log into the bvoip phone system.
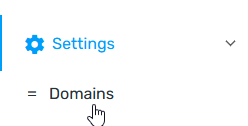
- Go to Settings > Domains on the left-hand side.
- Scroll down to the Use Your Own Domain section.
- Enter your FQDN and company information, then click Ok.

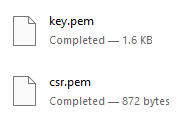
- A download will start for key.pem and csr.pem, you may be prompted to allow for multiple downloads.
- Use the csr.pem file to order/generate a new SSL certificate according to your vendor's documentation.
Update FQDN for the Control Portal
- Ensure that a CNAME is setup on the desired domain name to point to the address mtp.bvoip.net.
- Go to System > Domains again on the left-hand side.
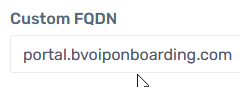
- In the Custom FQDN field, input the desired domain name.
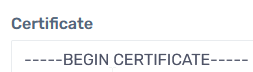
- In the Certificate field, paste the generated Certificate (crt.pem) received from your SSL issuer. This should start with -----BEGIN CERTIFICATE-----.
- In the Certification Key field, paste the generated Private Key (key.pem) received from the CSR generator. This should start with -----BEGIN RSA PRIVATE KEY-----.
- Click the Setup Custom FQDN button.
After completing these steps, expect the new domain to be working in full within 15 minutes of being set.
Phone System Customization
If you want to customize the domains that each phone system is using, see our article below for the additional steps necessary for each system.
- Customizing the Phone System FQDN
Customized Domain Isn't Taking?
Reach out to our Support Team if you are seeing that the custom domain is not reflected after applying the change.