
This article will cover how to add new end clients in bvoip's Managed Provisioning Portal.
Zero Touch Made Easier
bvoip now has integrated the Managed Provisioning Portal to provision and manage devices without going into two portals! For more information on this, please see our Activating the MPP Integration article.
Creating New End Clients
In order to manage a client’s devices, this requires a Direct Customer account to be created in the Managed Provisioning Portal.
- Click on the Customers section.

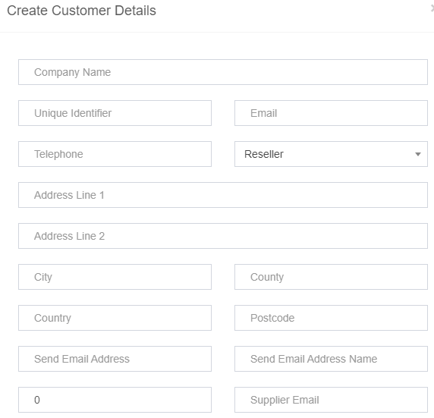
- Click on the Create Direct Customer button in the upper-right-hand corner. A pop-up will appear.

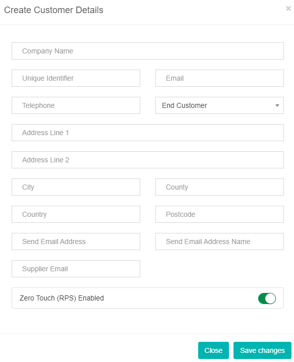
- In this pop-up, enter the client information in the correlating fields.
- Enable zero-touch provisioning by toggling the slide button.

- Click the Save Changes button.
Once the creation is complete, the new account will show in your list of Customers. To view the list of customers, click on Customers in the left-hand navigation menu again and all created clients will appear on the main page.
Configuring Client Provision and Server
After creating the client's account, the customer's server information and provisioning link will need to be configured.
- Click on the Client Account Name list.
- Click on the Add New Indirect Clients button.

- The Create Customer Details pop-up will appear.
- Fill out the client details.
- Click the Save Changes button.
- Click on the Account Name.
- Go to the System Details section.

- Click on the Change System button.
- Click the Select button the V16 option. The screen will refresh to reflect a pre-filled Provisioning Link field.
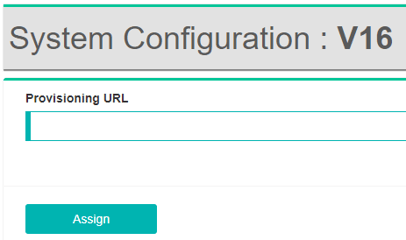
- In the Provisioning Link field, remove the default link listed and retrieve the provisioning link from the phone system. To retrieve the provisioning link from the phone system:
- Go to the bvoip Control Portal.
- Go to the Extensions section.
- Go to the Extensions subsection.
- Click on the edit icon next to the desired extension to have a phone provisioned.
- Go to the Phone Provisioning tab.

- Click the Add New Phone Device button. A pop-up will appear.
- In the Template drop-down, select the make and model of the phone to be provisioned.
- In the MAC address field, input the device's MAC address.
- Click the OK button. The pop-up window will close and page will refresh.
- Scroll down to the IP Phone section.
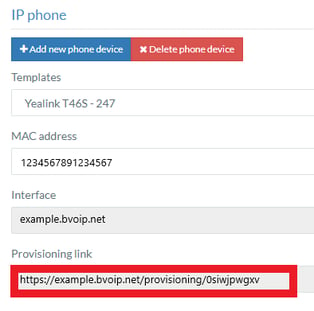
- Copy the link listed in the Provisioning Link field.
- Click the Save button to save the phone template.
- Go back to the Managed Provisioning Portal page.
-
- In the Provisioning Link field, paste the provisioning link from a phone on the phone system with a / at the end of the URL.
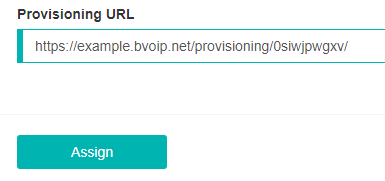
- Click the Assign button.
The customer account is now setup in the Managed Provisioning Portal and is ready for devices to be added.