This article will walk through the configuration of Azure Cognitive Services to analyze call sentiment in the bvoip phone system
1Stream Level Feature Notice
This feature is available for Enterprise level 1Stream users and up. If you would like this feature to be available, then please reach out to your bvoip Sales Representative to upgrade user licensing.
Microsoft Licensing Required
In addition to 1Stream, you must have a minimum of Power BI Pro through Microsoft 365. This license comes with Microsoft 365 E5 if you already have that.
Azure Consumption Required
This process will cause many consumption-based charges to start in your Azure subscription. Consult your bill after a day or two to determine if your settings need to be adjusted, or if this is not a right fit for you.
Requirements
You must have the following in order to proceed:
- A Microsoft Azure subscription.
- Call recording enabled for whichever calls you want to analyze.
Support Notice
We expect you to do a lot of heavy lifting here, and we recommend a senior-level engineer with Azure experience walk through these steps to ensure it is setup properly.
This document was created following Microsoft's official guide found here, so that can be referred to for further information. We do not control the template, applications, or functions that handle the automatic transcription.
If you have any questions about this integration, please email partners@bvoip.com for the quickest assistance, but do note we may defer to Microsoft or Azure support for some issues.
Configure Speech Services
- Visit the link below and login with your Azure account admin.
https://ms.portal.azure.com/#create/Microsoft.CognitiveServicesSpeechServices - Select your resource group, region, name, and pricing tier as you see fit, then click Review + create.

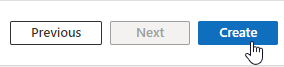
- Validate it looks correct, then click Create.
- Open your newly created service and go to Keys and Endpoint on the left.
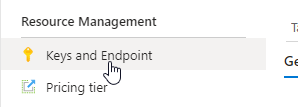
- Copy KEY 1 and the Endpoint, and save them for later.
Configure Text Analytics
- Visit the link below and login with your Azure account admin.
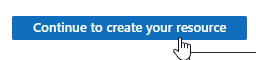
https://portal.azure.com/#create/Microsoft.CognitiveServicesTextAnalytics - Click Continue to create your resource.
- Select your resource group, region, name, and pricing tier as you see fit. agree to the AI notice, then click Review + create.
- Validate it looks correct, then click Create.
- Open your newly created service and go to Keys and Endpoint on the left.
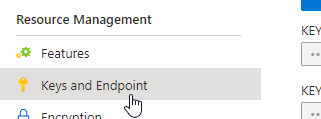
- Copy KEY 1 and the Endpoint, and save them for later.
Deploy the Microsoft Template
- Download the JSON file found at this link.
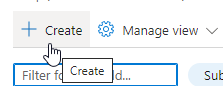
- In Azure go to create a new resource.
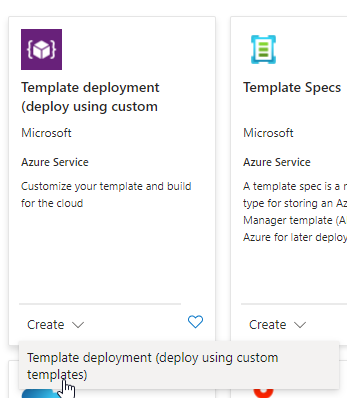
- Search for Template Deployment then select the option shown below.
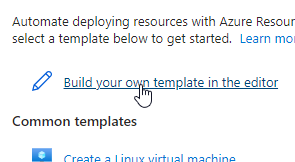
- Click Build your own template in the editor.
- Paste in the JSON template you downloaded previously, then click Save.

- Fill it out using the following details:
- Resource Group: Same group as before.
- Region: Same region as before. "East US" should be formatted as "eastus"
- Azure Speech Services Key: The key copied from the first section.
- Azure Speech Services Region: Same region as before.
- Custom Endpoint: The endpoint copied from the first section.
- Add diarization: True, unless you don't want speakers separated.
- Text Analytics Key: The key copied from the second section.
- Text Analytics Endpoint: The endpoint copied from the second section.
- Sentiment Analysis: Set this to UtteranceLevel.
- Pii Redaction: If you need it for compliance, enable this.
- Sql Administrator Login: The login name for the SQL server.
- Sql Administrator Login Password: The password for the new SQL server
- Click Review + create.
- After validation, click Create.
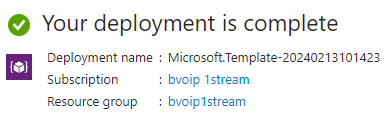
- Give Azure 5-10 minutes to create the necessary resources on your behalf. You can leave the window open and you'll get a confirmation once complete.
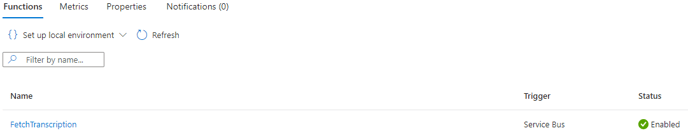
- Once complete, open your newly created FetchTranscriptionFunction Function App

- Give it some time and wait for the FetchTranscription function to appear on the home page.
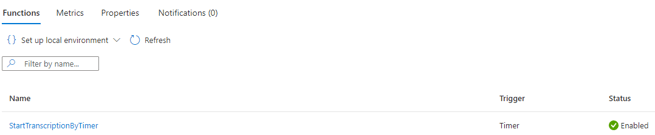
- Repeat the same for StartTranscriptionFunction and ensure StartTranscriptionByTimer appears like below.
Setup the 1Stream CRM Integration
Now that we have our Azure account setup for this, we can setup the 1Stream side.
- Open your newly created Storage Account and go to Access keys on the left.
- Copy the first Connection string value and save that.
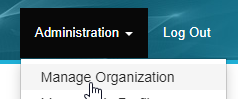
- Login to your 1Stream admin portal and go to Administration > Manage Organization.
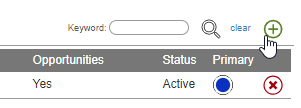
- Scroll down to the Connected Accounts and CRM Settings section, and click the green + sign in the top right.
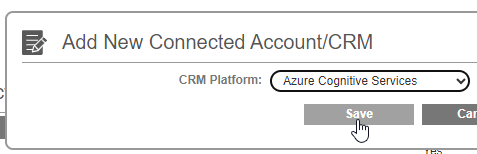
- In the Add New CRM Platform pop up window, select Azure Cognitive Services and then click Save.
- Enter in the following details:
- Region: The region used for the Azure resources, formatted like "eastus" or "centralus2" without quotes.
- API Key: The API Key for the Speech Services endpoint from section one.
- Blob Container: audio-input
- Status: Active, you can set this to Inactive to temporarily disable it.
- Connection String: Your copied connection string from above.
- Click Save.

Ship Recordings to Azure
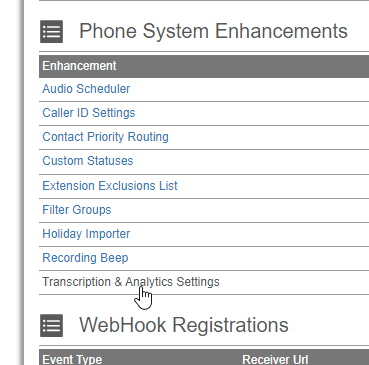
- In the Manage Organization page still, scroll down to Phone System Enhancements and open Transcription & Analytics Settings
- Set Recordings Options as follows:
- None: Disables the transcription system.
- Send All: Send all call recordings.
- Send Only These Queues: Select certain queues, and only send inbound call recordings from those queues.
- Also set These Queues if you select this.
- Send Only Outbound: Send only outbound call recordings.
- Set Seconds Threshold to the minimum duration of recording to send to Azure.
- Set Procession Option to the Cognitive Services (Azure Only) option.
- Click Save.
Accessing the Data
Once you've setup the calls to get into Azure, Azure will process them automatically using the Microsoft template we configured. You can then access the raw data by connecting to your SQL database, or use their provided Power BI templates which we recommend.
You can still access the simple text transcription inside the 1Stream system.
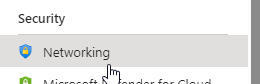
Allow Access to SQL
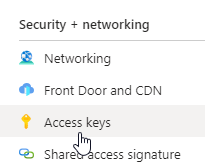
- In your Azure account, open your newly made SQL Server by clicking on it.

- On the left go to Security > Networking.
- Click Add your client IPv4 address, then click Save.
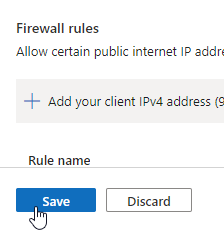
- You can add any other IPs necessary here as well.
Getting the template
Download one or both of the Microsoft templates below.
- Speech Insights: A collection of reports that use transcription data to quantify your customer care agents' interactions and improve empathetic conversations.
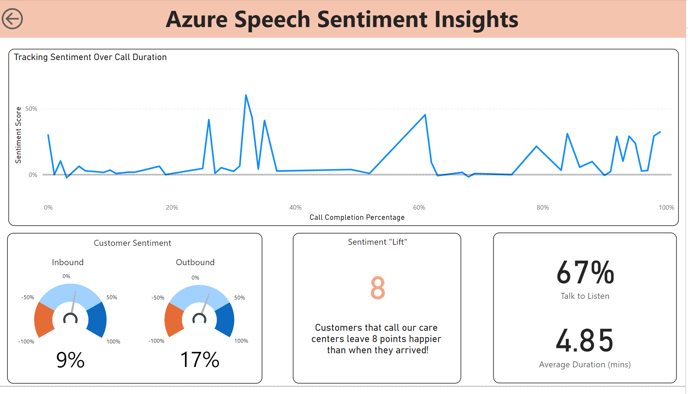
- Sentiment Insights: A collection of reports that use transcription data to understand the sentiment of your customers during an interaction and improve satisfaction.
Loading the Template
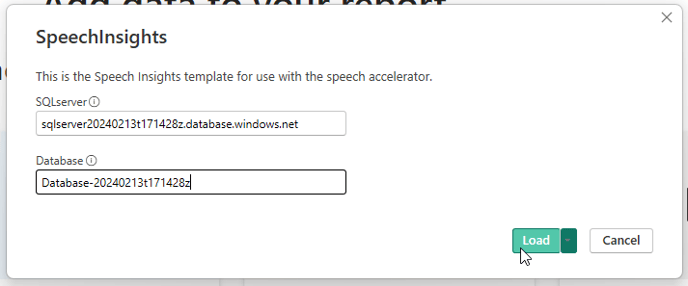
- Double click the template to open it in Power BI.
- Enter in your Server name, with .database.windows.net, which can be found in the Overview tab of the SQL Server in Azure.

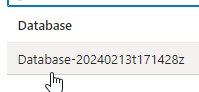
- Enter in the Database name, which can be found in the SQL Databases menu in Azure.
- Click Load.
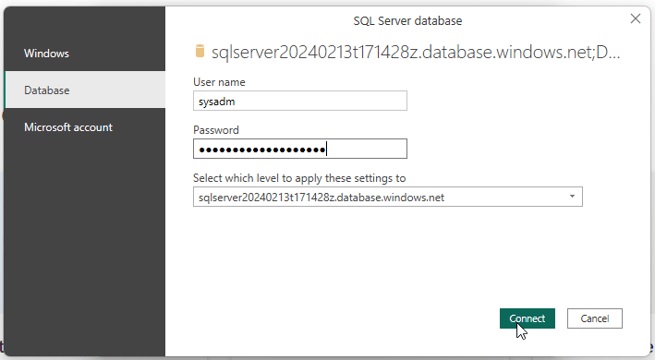
- In the login prompt click Database on the left, then enter in your SQL Admin credentials from the template deployment and click Connect.
- You can then review the data as you see fit.
Example from Speech Template: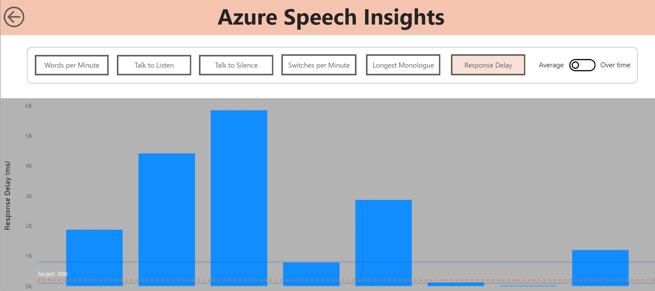
Example from Sentiment Template: