
This article will provide a walkthrough in configuring the Anti-hacking tool in the bvoip phone system.
Why Use the Anti-Hacking Tool?
The tool will massively blacklist IPs from different countries and will only allow certain countries. A successful SIP registration will depend on the user-agent used by the phones which will be applied with our custom CUA (custom user agent) templates.
System Restart Requirement
Enabling this feature will require a system restart of your phone system.
Blacklist Tabs
The three sub-tabs within the Blacklist tab (Allowed, Denied, and System) are read-only, these are a summary of the current state of the firewall.
Custom Phone Templates Notice
If you have custom templates, please contact support and they will help with creating a new template with the CUA implemented.
Setting Templates
- Log into the bvoip phone system.
- Go to the Tool Menu.
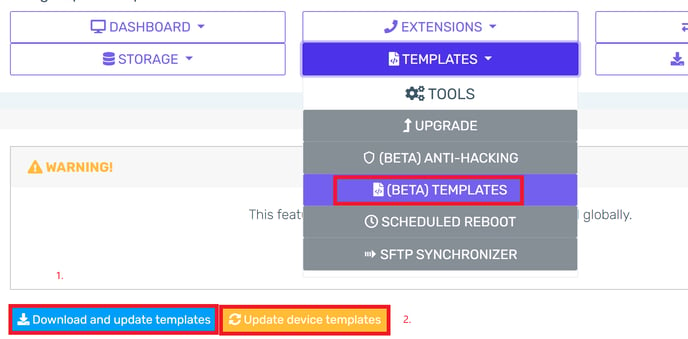
- Select the Templates subsection.
- Click on the Download and Update Templates button. This button will update the existing templates to the published new ones.
- Click on the Update Device Templates button.
- Select the correct template. The naming syntax for the new templated will be shown as bvoip_cua – *MODEL_NAME*.
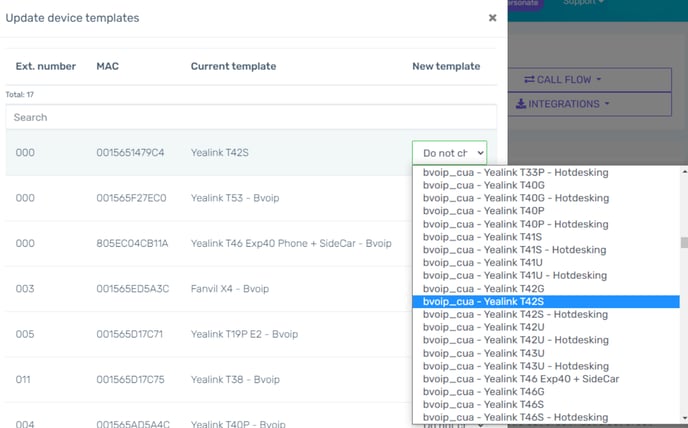
- Click on the Save Changes button. The phone system will then restart.
- The phones will then need to be reprovisioned so that they accept the new templates and apply the new UA configuration.
Setting the UA Whitelisting
- Log into the bvoip phone system.
- Go to the Tool Menu.
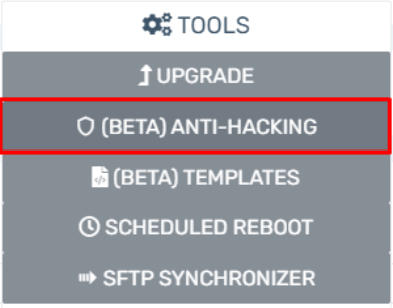
- Select the Anti-Hacking subsection.
- Go to the UA Whitelist tab.
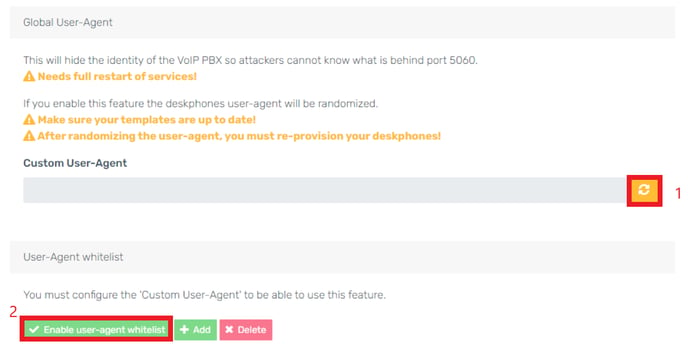
- Click on the Generation button. A pop-up will appear.
- In the pop-up window, you will need to choose one of two button options:
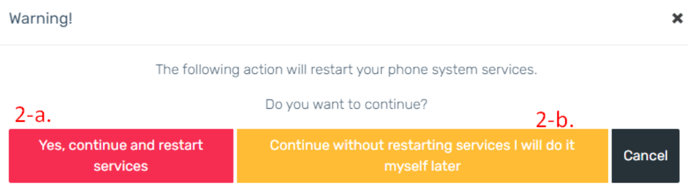
- Yes, Continue and Restart Services - Choose this option to restart the phone system immediately to have the UA configuration applied.
- Continue Without Restarting Services and I Will Restart on my Own Later - Choose this option if you plan to restart at a later time but wish to have the changes saved.
- Click on the Enable User-Agent Whitelist button. You can then add User-Agents. Once the Enable User-Agent Whitelist button turns yellow, this means that the phone systems will block SIP registrations that do not include this UA in the headers.
Country IP v. Individual IP Blacklisting
Individual IPs that are whitelisted will win over backlisted countries. This is so that exceptions can be made when blacklisting countries.
Setting Country Blacklisting
- Go to the Countries Blacklist tab.
- Click on the Disable All button.
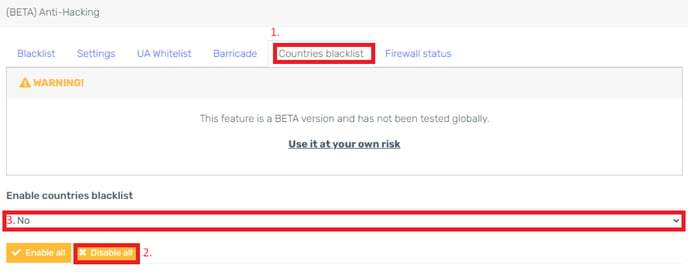
- Click the checkboxes for the desired countries to be enabled.
- Select Yes in the Enable Countries Blacklist drop-down. After a few seconds, the updated configuration will be applied to will be applied and all countries that are disabled will not be able to connect to the phone system.
